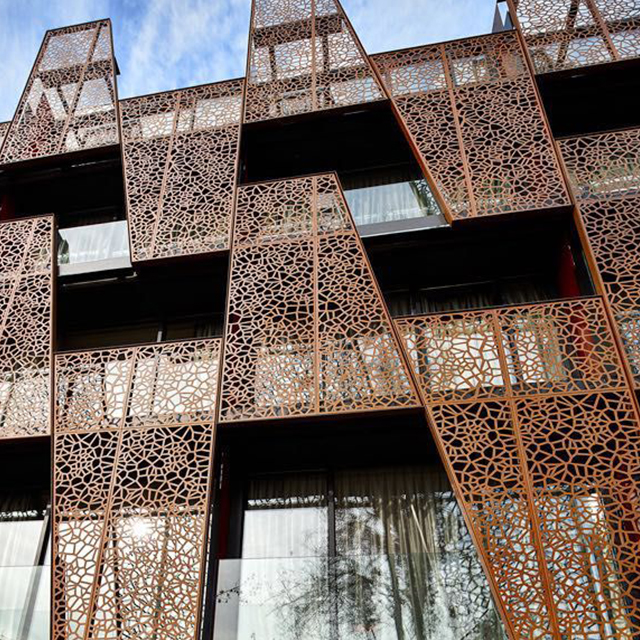
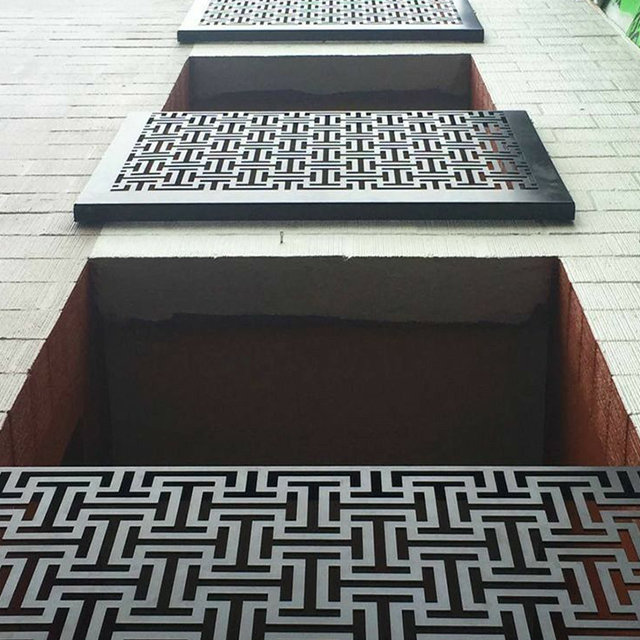
Learn everything about the installation of architectural panels, from preparation to finishing. Discover tips, tools, and best practices for a seamless installation. Explore more at Likton Metal.
The installation of architectural panels is a critical step in modern construction, ensuring both aesthetic appeal and functional performance. Whether you’re working with aluminum, composite, or other materials, proper installation is key to achieving a durable and visually stunning result. This guide provides a step-by-step overview of the installation process, along with tips and best practices.
1. Preparation: The Foundation of a Successful Installation
Before installing architectural panels, proper preparation is essential. This includes:
- Surface Inspection: Ensure the wall or substrate is clean, dry, and free of debris.
- Framework Installation: Install a support structure (e.g., aluminum or steel framing) to hold the panels securely.
- Measurement and Cutting: Accurately measure and cut the panels to fit the design specifications.
Tip: Use laser levels and measuring tools to ensure precision during preparation.
Learn more about preparation techniques: The Constructor
2. Tools and Materials Needed for Installation
To install architectural panels effectively, you’ll need the following tools and materials:
- Tools: Drill, screws, clips, adhesive, level, measuring tape, and safety equipment.
- Materials: Architectural panels, insulation (if required), and sealants.
Example: For aluminum composite panels, use stainless steel screws and weather-resistant sealants to ensure longevity.
Explore the best tools for panel installation: Building Design + Construction
3. Step-by-Step Installation Process
Step 1: Attach the Framework
Install the support structure according to the design plan, ensuring it is level and securely anchored.
Step 2: Install the Panels
- Start from the bottom and work your way up.
- Attach the panels to the framework using screws, clips, or adhesives, depending on the panel type.
- Ensure proper alignment and spacing between panels.
Step 3: Seal the Joints
Apply weather-resistant sealants to the seams and edges to prevent water infiltration and ensure a clean finish.
Tip: Use a rubber mallet to gently adjust the panels without damaging them.
See a visual guide to panel installation: ArchDaily
4. Common Challenges and Solutions
- Uneven Surfaces: Use shims or adjustable clips to level the panels on uneven substrates.
- Weather Conditions: Avoid installing panels during extreme weather to prevent warping or improper adhesion.
- Panel Damage: Handle panels carefully during transportation and installation to avoid scratches or dents.
Example: For curved architectural panels, use specialized brackets and flexible adhesives to achieve the desired shape.
Learn about overcoming installation challenges: Dezeen
5. Maintenance and Long-Term Care
Once installed, architectural panels require minimal maintenance. Regular cleaning with mild soap and water is usually sufficient to maintain their appearance. Inspect the panels periodically for signs of wear or damage, especially in harsh climates.
Tip: For fire-resistant or insulated panels, ensure the insulation and fire barriers remain intact over time.
Read about maintaining architectural panels: World Green Building Council
Conclusion
The installation of architectural panels is a precise process that requires careful planning, the right tools, and attention to detail. By following best practices and addressing common challenges, you can achieve a flawless installation that enhances both the aesthetics and functionality of your building.
If you’re looking for high-quality architectural panels and expert installation guidance, visit Likton Metal to explore our range of products and solutions. Have questions or need a quote? Contact us today for expert advice and personalized service!

